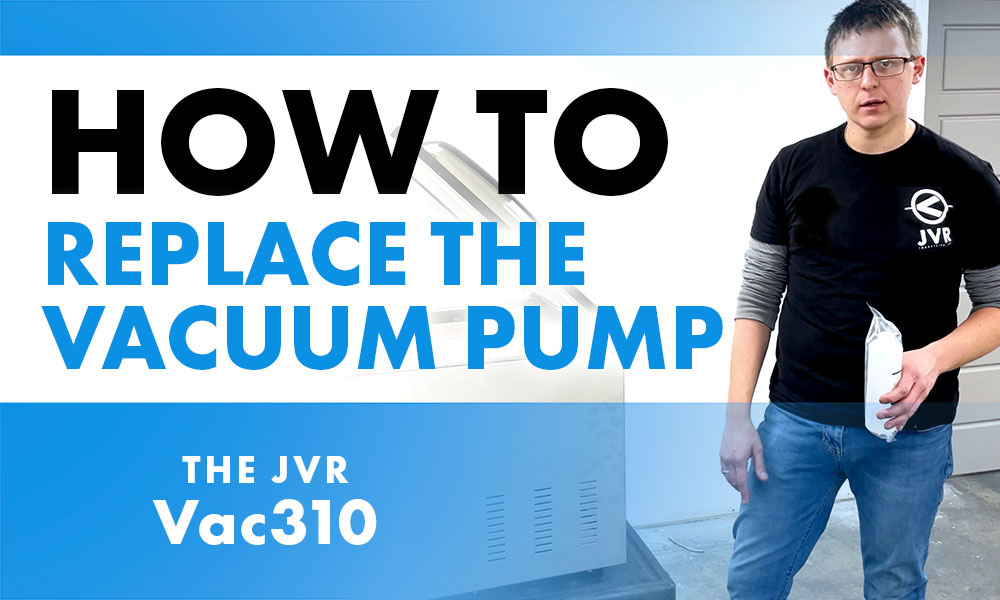
How to Replace Your Vacuum Pump (310-30, 310-31, RVS20-110): JVR Vac310
“The Vac310 replacement vacuum pump (310-30, 310-31, RVS20-110) is a high-performing 20m3/h oil lubricated rotary vane pump…”
With the ultimate vacuum pump in combination with a superior sealing bar, you are set for an undeniably successful vacuum packaging outcome with your Vac310. But what if your vacuum pump so happens to cease functioning due to a leak or other problem? Today, we will go over how exactly to replace your vacuum pump if it happens to crash. Keep your unit up and running with the necessary material without having to purchase a whole new chamber sealer.
Importance of the Vacuum Pump in Vacuum Sealing
The vacuum pump is the heart of the chamber vacuum sealer. But two majorly different vacuum pumps exist within the vacuum packaging world – a dry piston pump used in Foodsaver-style external sealers and many chamber sealers, and then a rotary vane oil pump proudly housed in our VacSeries models. Here’s a summary of how oil pumps stand out in this industry.
Optimal Air Removal: The rotary vane oil pump construction allows for optimal air removal from vacuum pouch bags. By removing up to 99.8% of air, this feature provides higher freezer burn prevention, more successful marinating and sous vide cooking, ultimate effectiveness in preserving freshness and flavor, and extended shelf life.
Sound Volume: Chamber sealers housing oil pumps are about 20 dB quieter than those housing dry piston pumps. Prevent hearing damage from unnecessary noise and operate with a softer volume that does not interrupt your workflow. This is especially convenient when you are expecting phone calls!
Extended Life-Span: Many companies advertise the dry piston pumps as maintenance-free for simplicity. This holds true for any frozen or dry goods, but once you begin to dip your toes into vacuum sealing moist foods, liquids such as soup or even small amounts of meat juices can get sucked into the pump, causing it to fail. This is a major component that sets the oil pump apart from the dry piston pump. The oil within the pump is a method that gives it the ability to keep the oil separate, eliminating this as a factor.
The Replacement Vacuum Pump
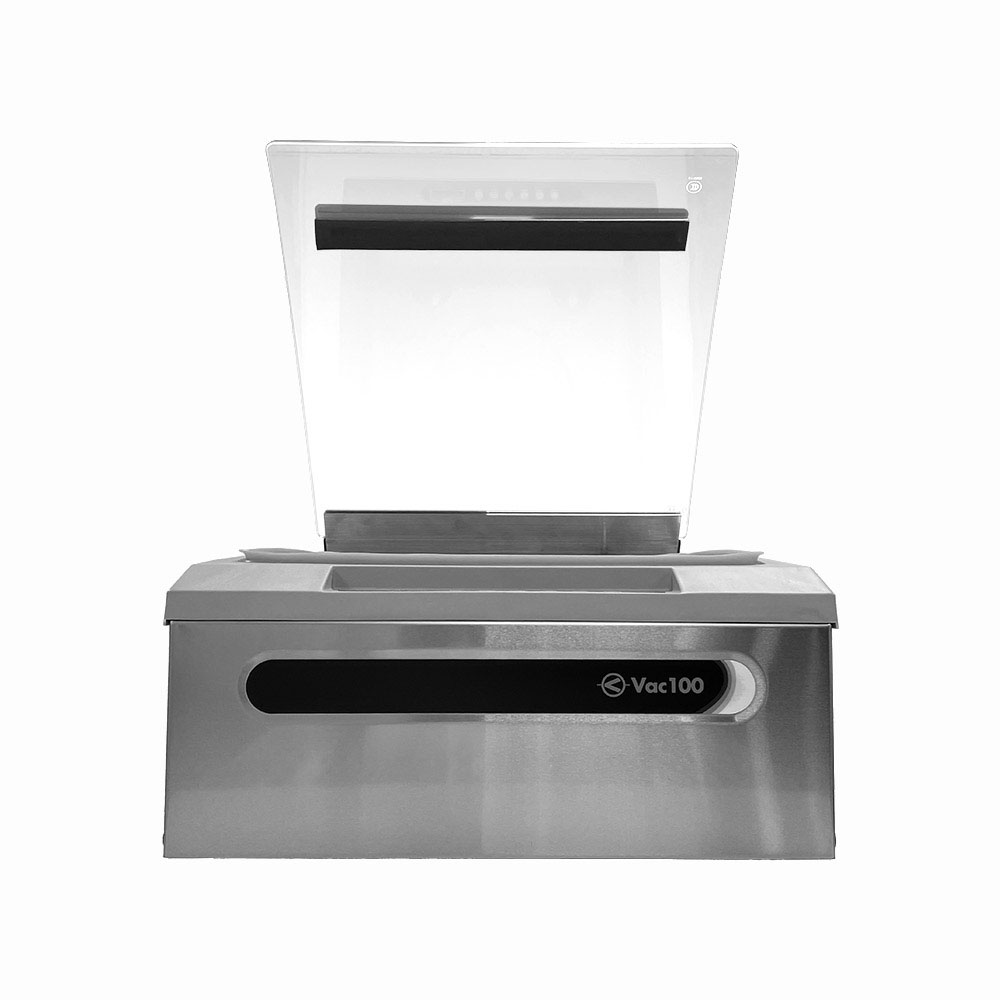
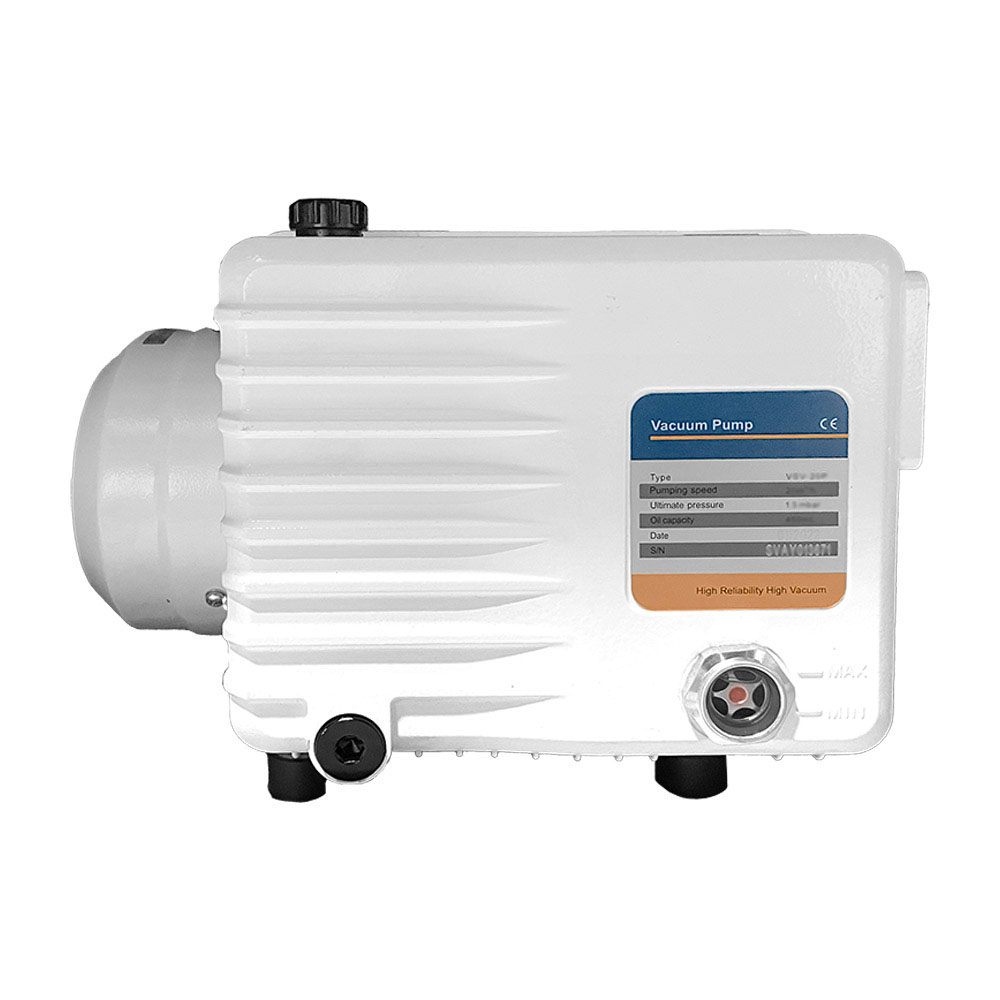
The Vac310 replacement vacuum pump (310-30, 310-31, RVS20-110) is a high-performing 20m3/h oil lubricated rotary vane pump. Arrives already equipped with the electrical wire ends to power it up.
ATTENTION: Vacuum pump oil is provided in the packaging to fill the new pump at the end of the replacement process.
Tools Needed
3mm Allen Key
Short #2 Phillips Screwdriver (long works too)
12 mm Wrench
Steps to Replace the Vac310 Vacuum Pump
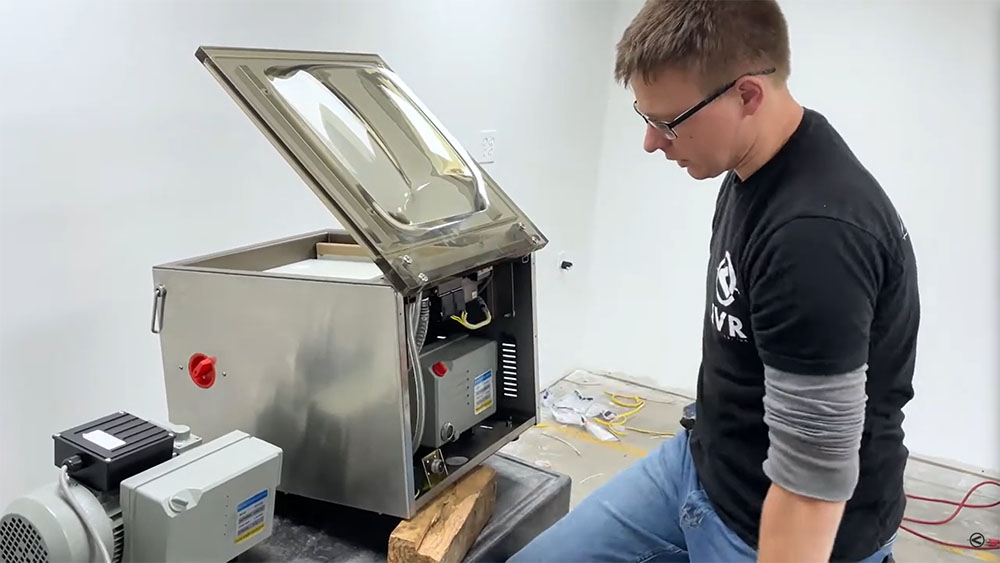
Disassembling the Vac310
1. Disconnect the Vac310 power source.
2. Rotate the machine so that the back is facing towards you.
3. Prop the back feet up on wood blocks to access the bottom of the unit.
4. Use the 3mm Allen key to remove the back panel.
Removing the Old Vacuum Pump
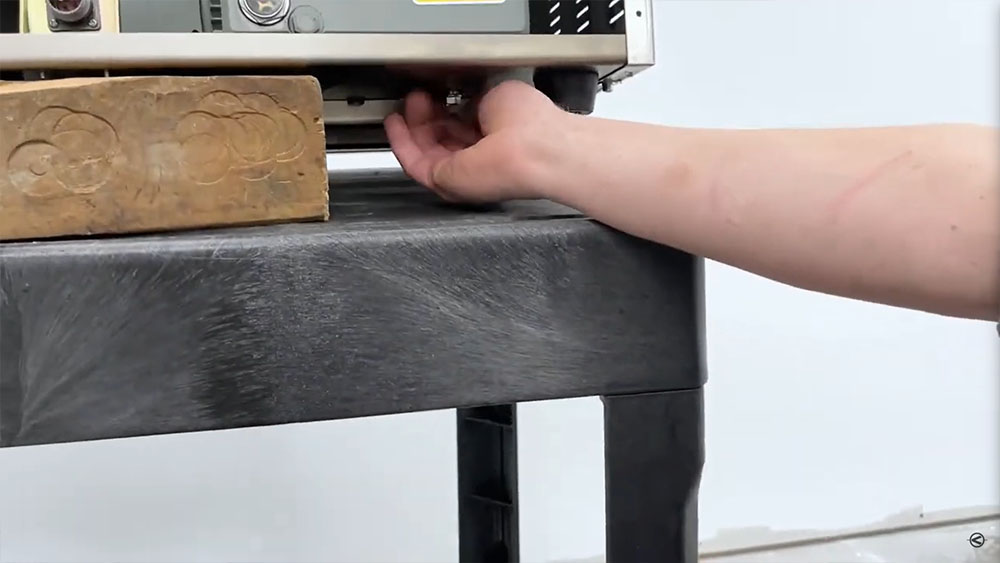
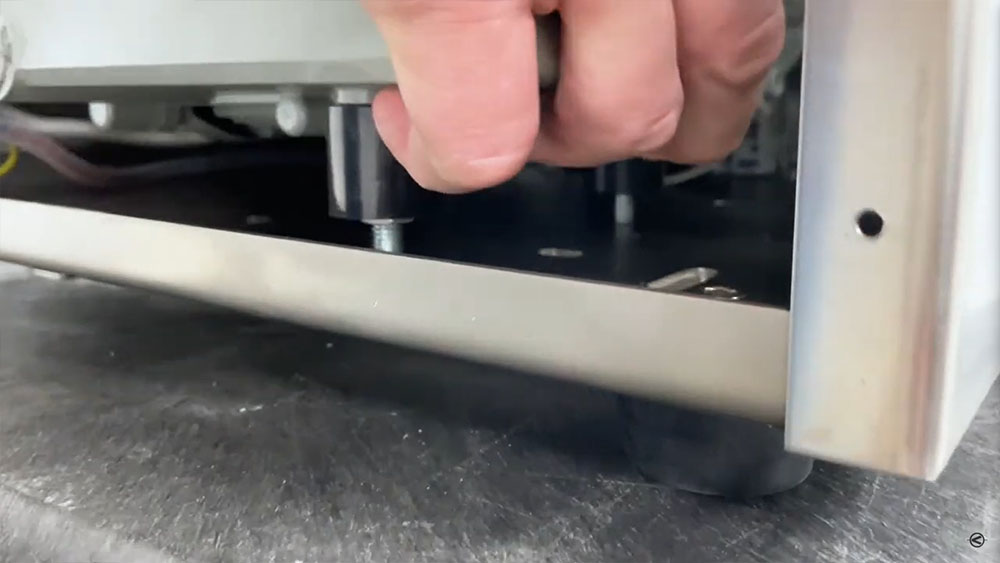
5. Using the 12 mm wrench, remove the three nuts on the underside of the unit that secure the pump to the floor (one is located in front of the first bracket, and two are positioned between the two brackets).
6. Remove the wood blocks propping up the vacuum sealer.
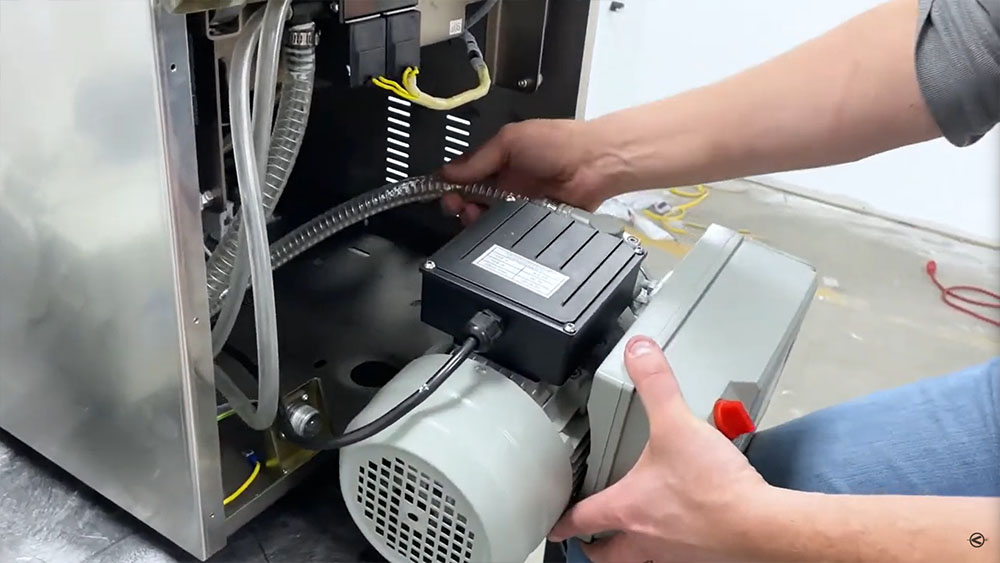
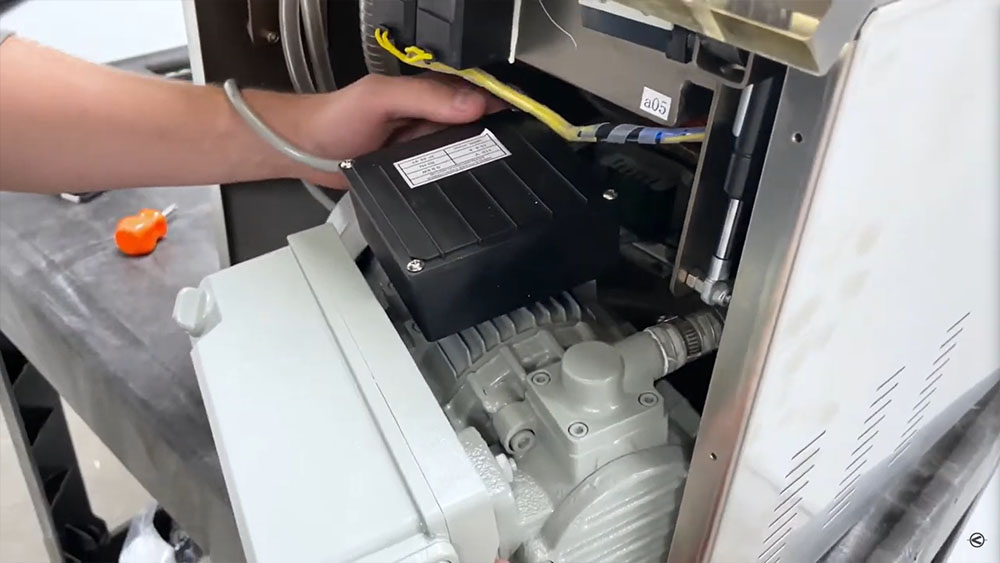
7. Lift up the vacuum pump from its holder and bring towards you to expose the connections.
8. Disconnect the clear vacuum by loosening the hose clamp with the #2 Phillips (silicone is optional for the replacement process).
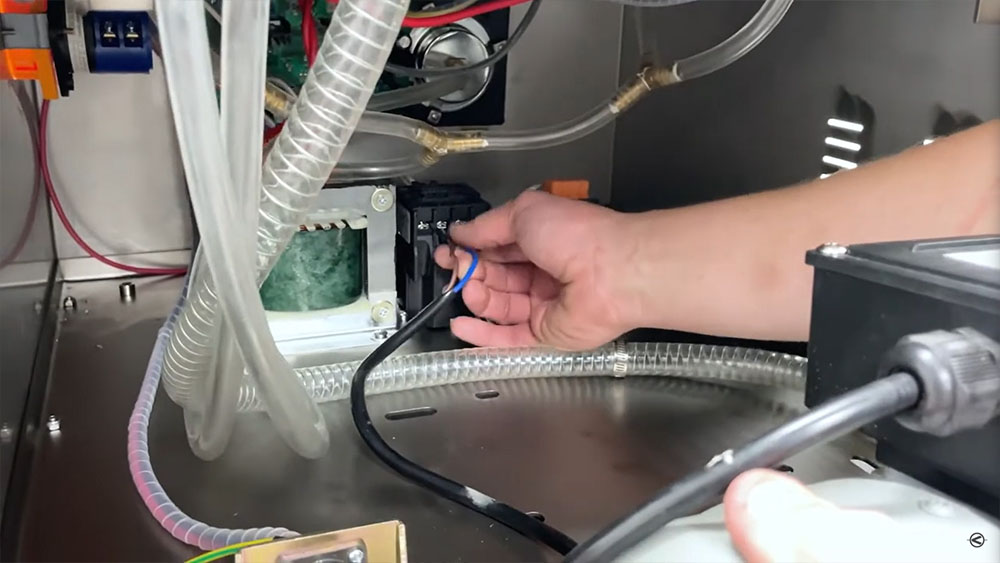
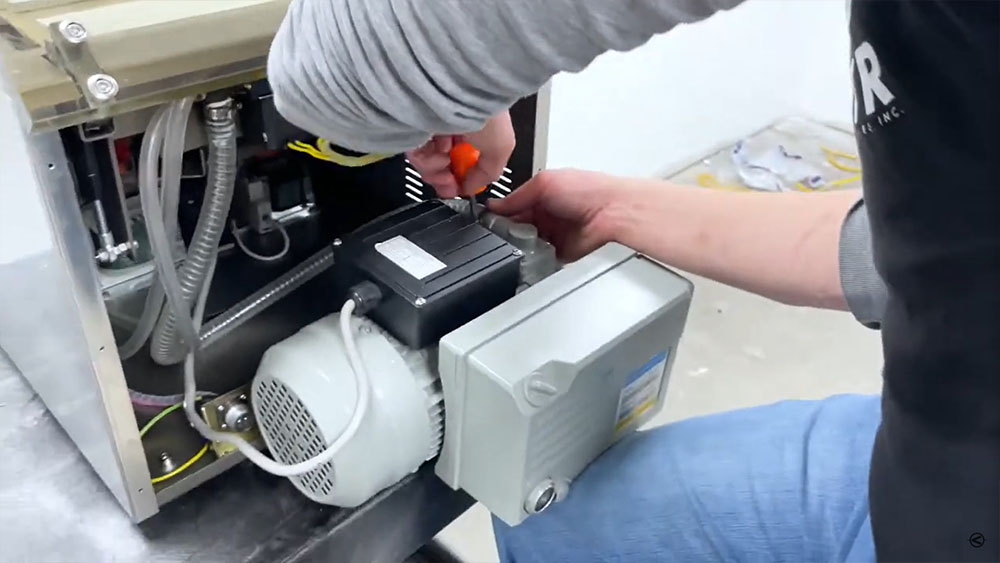
9. Disconnect the electrical wires from the contactor by loosening the screws inside the divots with the #2 Phillips.
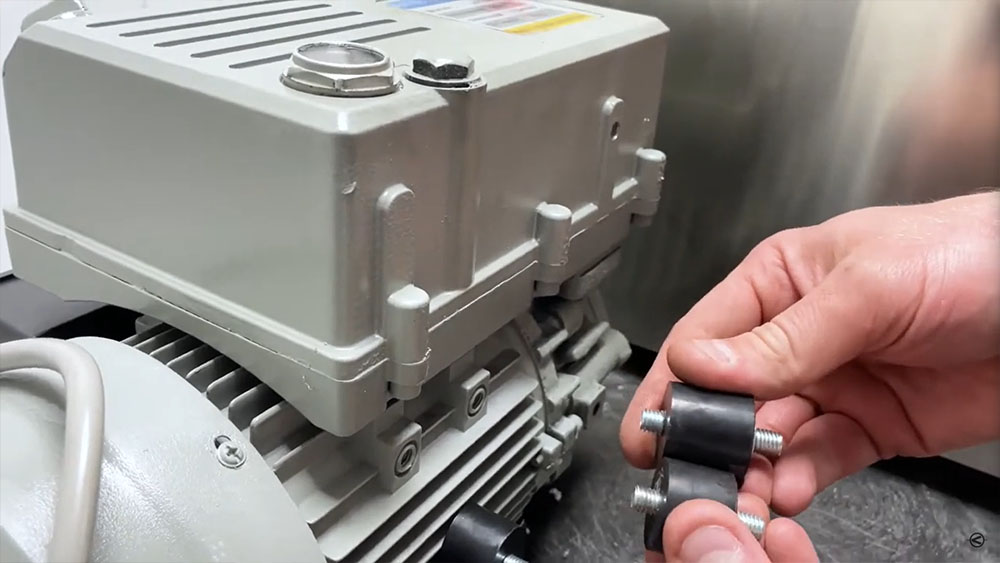
10. Pull out the pump completely and turn it on its side to unscrew the 3 feet from the bottom. These will be used for the replacement pump.
11. Set the pump to the side.
Installing the Replacement Vacuum Pump
12. Retrieve the new vacuum pump. DO NOT ADD OIL YET.
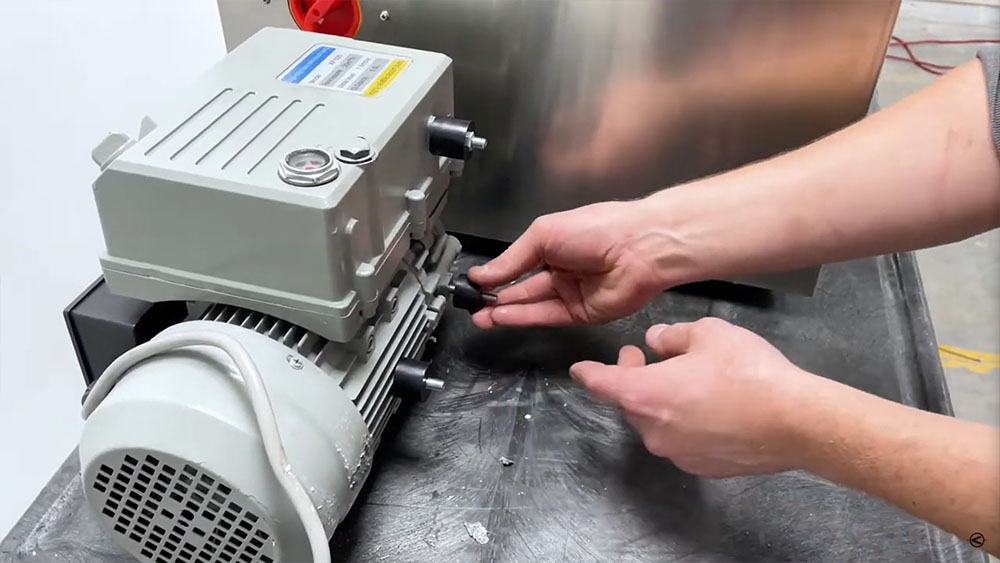
13. Install the 3 feet from the last pump. The longer foot gets installed under the exhaust box, and the two shorter, identical ones under the pump.
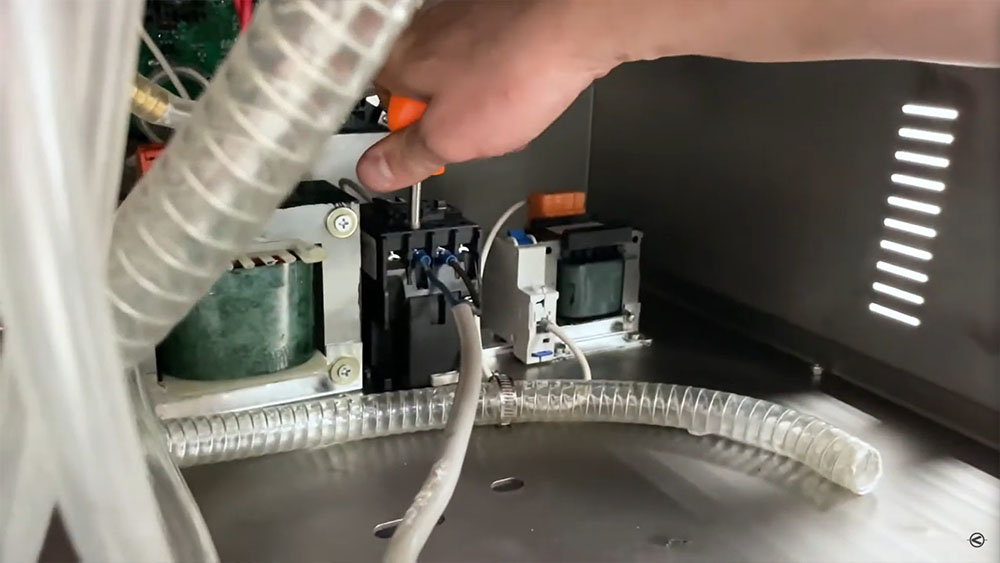
14. Secure the two electrical wires to the contactor. Slide each end of the wire under the U-shaped metal plates. The color order does not matter, as long as they are secured in the two middle slots of the contactor. You can loosen the screws if the space is too narrow.
15. Tighten the screws until the wires are secure. Tug to test.
16. Reinstall the vacuum hose and secure the hose clamp with the #2 Phillips.
NOTE: Hose clamps can be picked up at a local auto parts store for cheap if yours just so happens to break.
17. Lift the vacuum pump into the interior of the unit.
CAUTION: BE CAREFUL OF SCRATCHING OR CATCHING ON OTHER PARTS. MAKE SURE ALL WIRES DO NOT GET CAUGHT BEHIND OR CRUSHED UNDER THE PUMP.
18. Inch the pump back until it falls into place.
19. Prop up the back unit feet on the blocks.
20. Screw on the 3 nuts to secure the pump feet to the floor using the 12 mm wrench.

Reassembling the Vac310
21. Grab the bottle of vacuum pump oil that arrived with the replacement pump.
22. Remove the oil fill cap on the pump (grey or red).
23. Use the funnel to add the oil until the sight glass shows the pump is 1/2 – 2/3 full.
24. Screw on the oil fill cap.
25. Secure the back panel using the 3mm Allen key.
Questions?
As always, please feel free to contact our service team here at JVR Industries. We are always ready to help with 50-plus years of vacuum packaging experience and personable service. Whether phone, email, or Live Chat, you will always talk directly to a person who can help you out. We pride ourselves on offering multiple sources that meet your preferences, but we will always get you the help you are looking for. We look forward to hearing from you!
Want to read more articles like “How to Replace Your Vacuum Pump (310-30, 310-31, RVS20-110): JVR Vac310”? Click below!
.